Perfect Hard-Boiled Eggs: No Gray Ring, No Sticking Shells
Hard-boiled eggs should be simple, but they’re a top-tier kitchen betrayal: shells that shred your egg, green-gray rings, rubbery whites, and yolks that never match what you wanted. The fix isn’t luck, it’s a repeatable process that controls heat and timing, then stops cooking fast so the desired texture locks in.
This technique is part of the Master Cooking Techniques hub, where the master moves stack into predictable results and easy cooking.

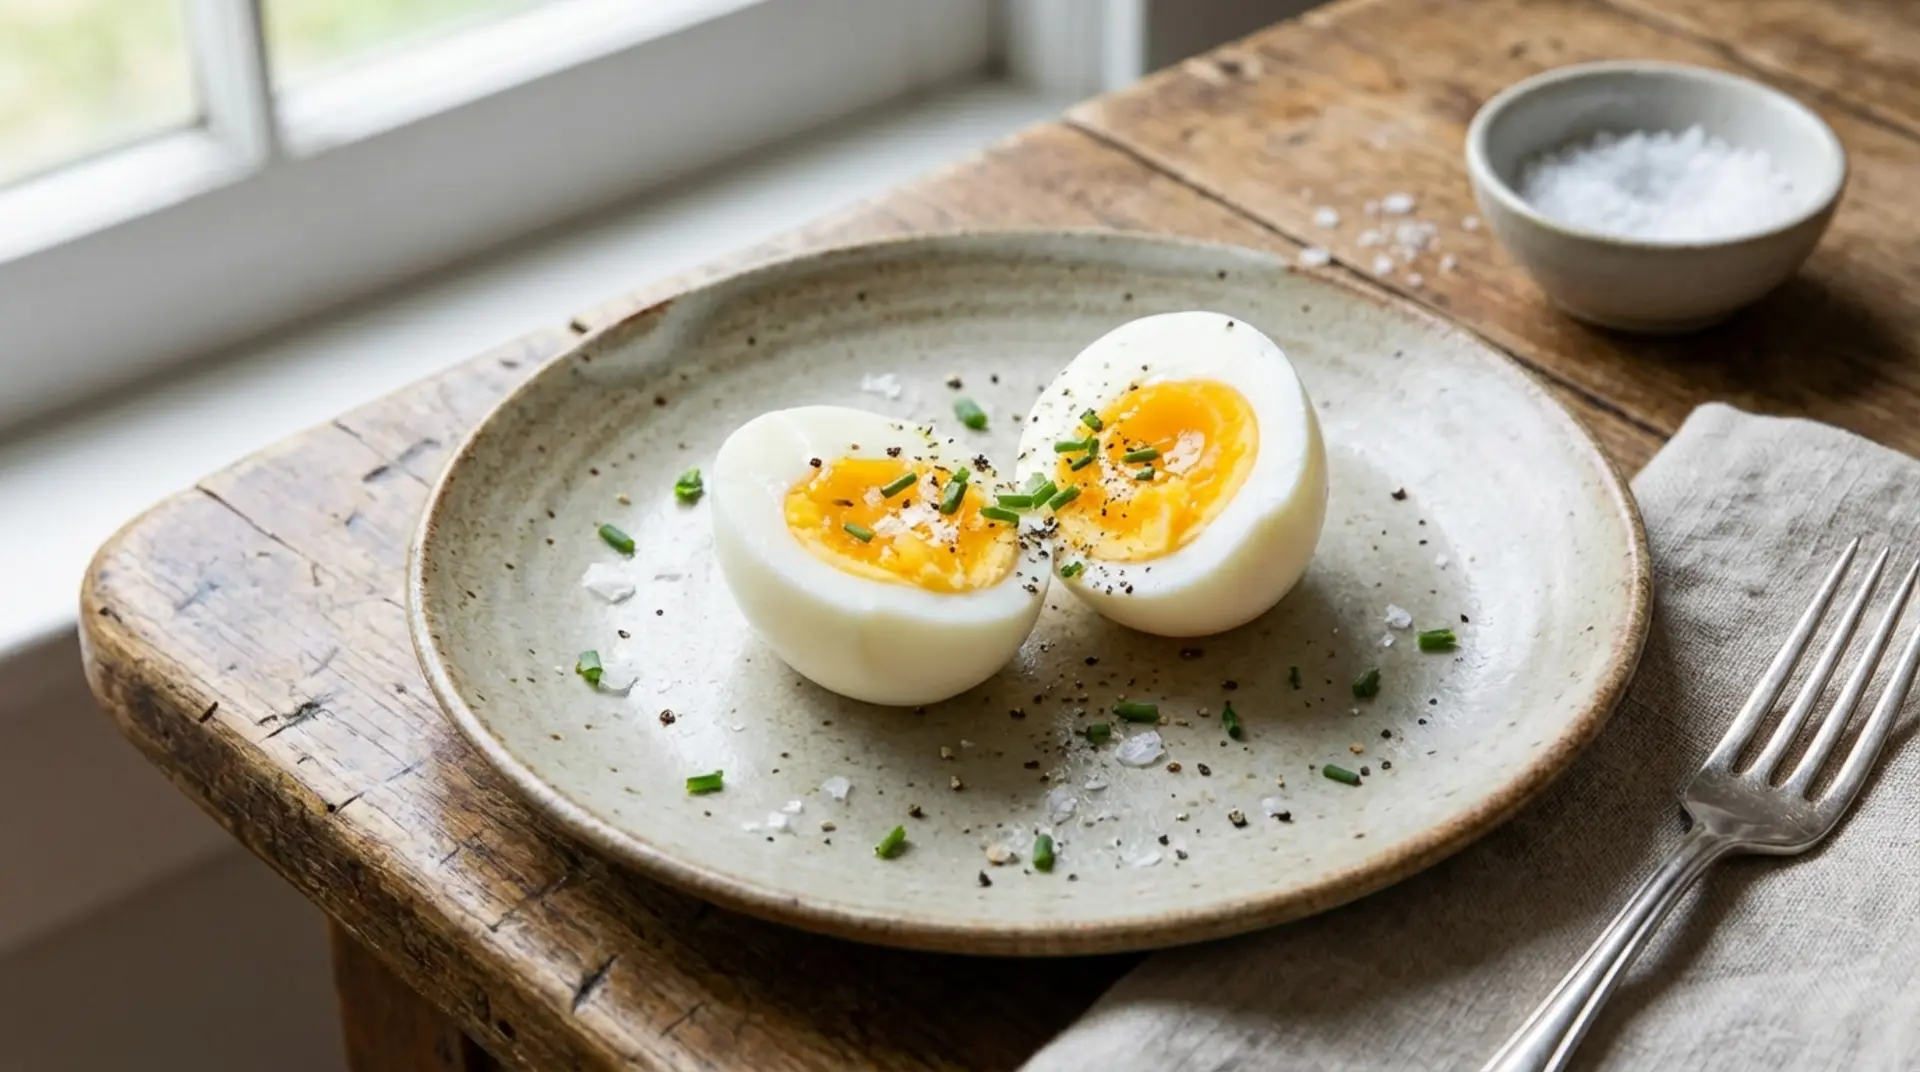
How to make tasty hard-boiled eggs consistently
The secret to yummy hard-boiled eggs doesn't have to be guess-work. Run the same system every time and it'll be easy. Use one method, start timing at the same moment, and stop the cook quickly with rapid cooling. Most bad eggs happen because timing is vague or because the eggs keep cooking after they’re removed from heat. Eggs hold heat surprisingly well, and that carryover-heat can push a jammy center into a dry, crumbly yolk.
Your repeatable system has three checkpoints: a consistent heat method, a timing window that matches the center you want, and a cooling step that stops the cook. Once you lock those in, you’ll get the same outcome every time. This same mindset: clear timing and consistent checkpoints, shows up in pan work too, whether you're sautéing or searing, a lot of cooking techniques operate from the same principles and apply broadly.
Choosing a gentle boil vs steam for hard-boiled eggs
Both methods can work. A gentle boil is straightforward and widely used: eggs are submerged in simmering water and cooked for a set time. Steaming uses a small amount of boiling water and a basket or rack to hold the eggs, cooking them through hot steam. Many home cooks prefer steaming because it can produce more consistent results and sometimes improves peelability, since steam delivers heat efficiently and the eggs aren’t bouncing around in a rolling boil.
Choose gentle boil if you want a simple setup with no extra gear and you’re okay with careful heat control. Choose steam if you want a more stable system, especially if you’ve had cracking problems or inconsistent centers. Regardless of method, avoid a violent rolling boil. You want controlled heat: steady, predictable, not chaotic.
Hard-boiled egg timing chart: jammy to firm
Timing is the main driver for your yolk texture. The key is defining when the clock starts. For a gentle boil method, start timing once the water returns to a gentle simmer after adding eggs. For steaming, start timing once you have a steady steam environment. Egg size and starting temperature can shift results slightly, but a consistent method keeps your results predictable.
Use these ranges as a general guide: shorter times give jammy centers, longer times give fully firm yolks. If you want jammy eggs for ramen or bowls, stay on the shorter end. If you want fully set eggs for salads or meal prep, go longer but avoid excessive time that dries the yolk and increases the odds of a green ring. The best strategy is to pick one target texture and run a small calibration batch once.
The cooling method that improves peeling and prevents overcooking
Cooling is not optional if you want consistent centers. Eggs continue to cook after you remove them from heat, and that carryover is what turns a good jammy egg into a dry one. Cooling also helps with peeling by creating a stronger temperature change between the egg and shell, which can make the membrane easier to separate. You don’t need a huge ice bath, but you do need an immediate cooldown step.
The simplest system: transfer eggs directly from heat into cold water, then refresh the water once it warms up. If you have ice, use it. If not, run cold water and keep the eggs moving for the first minute, then let them sit until cool. If you’re storing, cool fully before refrigerating. This single step prevents most texture problems and makes eggs consistently delicious.
How to easily peel hard-boiled eggs cleanly
Clean peeling is a technique anyone can easily learn. The best peeling outcomes usually come from eggs that aren’t too fresh, thorough cooling, and cracking in a way that breaks the shell into many small fractures so water can slip under the membrane. If you crack only one big break, the membrane can stay attached and take chunks of white with it.
Use this practical method: crack the egg gently all over, then roll it on the counter with light pressure to create a network of cracks. Start peeling from the wider end, often where an air pocket is. Peel under a thin stream of water or in a bowl of water for extra help. If an egg is stubborn, don’t fight it aggressively; re-submerge it for a minute, then peel again.
Frequently Asked Questions
How do you make hard-boiled eggs that peel easily?
Use a consistent method and cool the eggs quickly. Eggs that aren’t extremely fresh often peel easier. After cooking, transfer eggs into cold water or an ice bath to stop carryover heat. Crack and roll the shell to create many small cracks, then peel under water starting from the wider end.
Why do my hard-boiled eggs get a green ring around the yolk?
The green ring usually comes from overcooking or cooling too slowly. It’s harmless, but it signals the yolk is dry. Reduce cook time slightly and cool immediately in cold water or an ice bath. Consistent timing and fast cooling prevent it in most kitchens.
Is steaming better than boiling for hard-boiled eggs?
Steaming can be more consistent because eggs aren’t bouncing in a rolling boil, and heat delivery can feel steadier. Many people also find steaming helps peelability. But both methods work well if you control heat, start timing consistently, and cool the eggs immediately after cooking.
Conclusion
Hard-boiled eggs get easy when you run a consistent system: pick gentle boil or steam, start timing the same way every time, and cool immediately to stop carryover heat. Use crack-and-roll peeling and peel under water if needed. Once you dial in your preferred timing, you’ll get clean peels and consistent centers on autopilot.
Next Step: Sautéing vs Searing (heat and movement rules that prevent sticking)
Latest posts
About