How to Control Cooking Temperature for Repeatable Results
If your chicken is dry one night and perfect the next, your problem isn’t about the recipes. It’s the cooking temperature control. When you understand carryover cooking, heat zones, and how to probe the right spot, doneness becomes repeatable across different stoves, pans, and ovens.
This article is part of the cooking science hub. For the full framework (heat, texture, browning, tools), go back to Cooking Science Guide: Heat, Texture, Flavor Timing.
What is carryover cooking and how much does it change doneness?
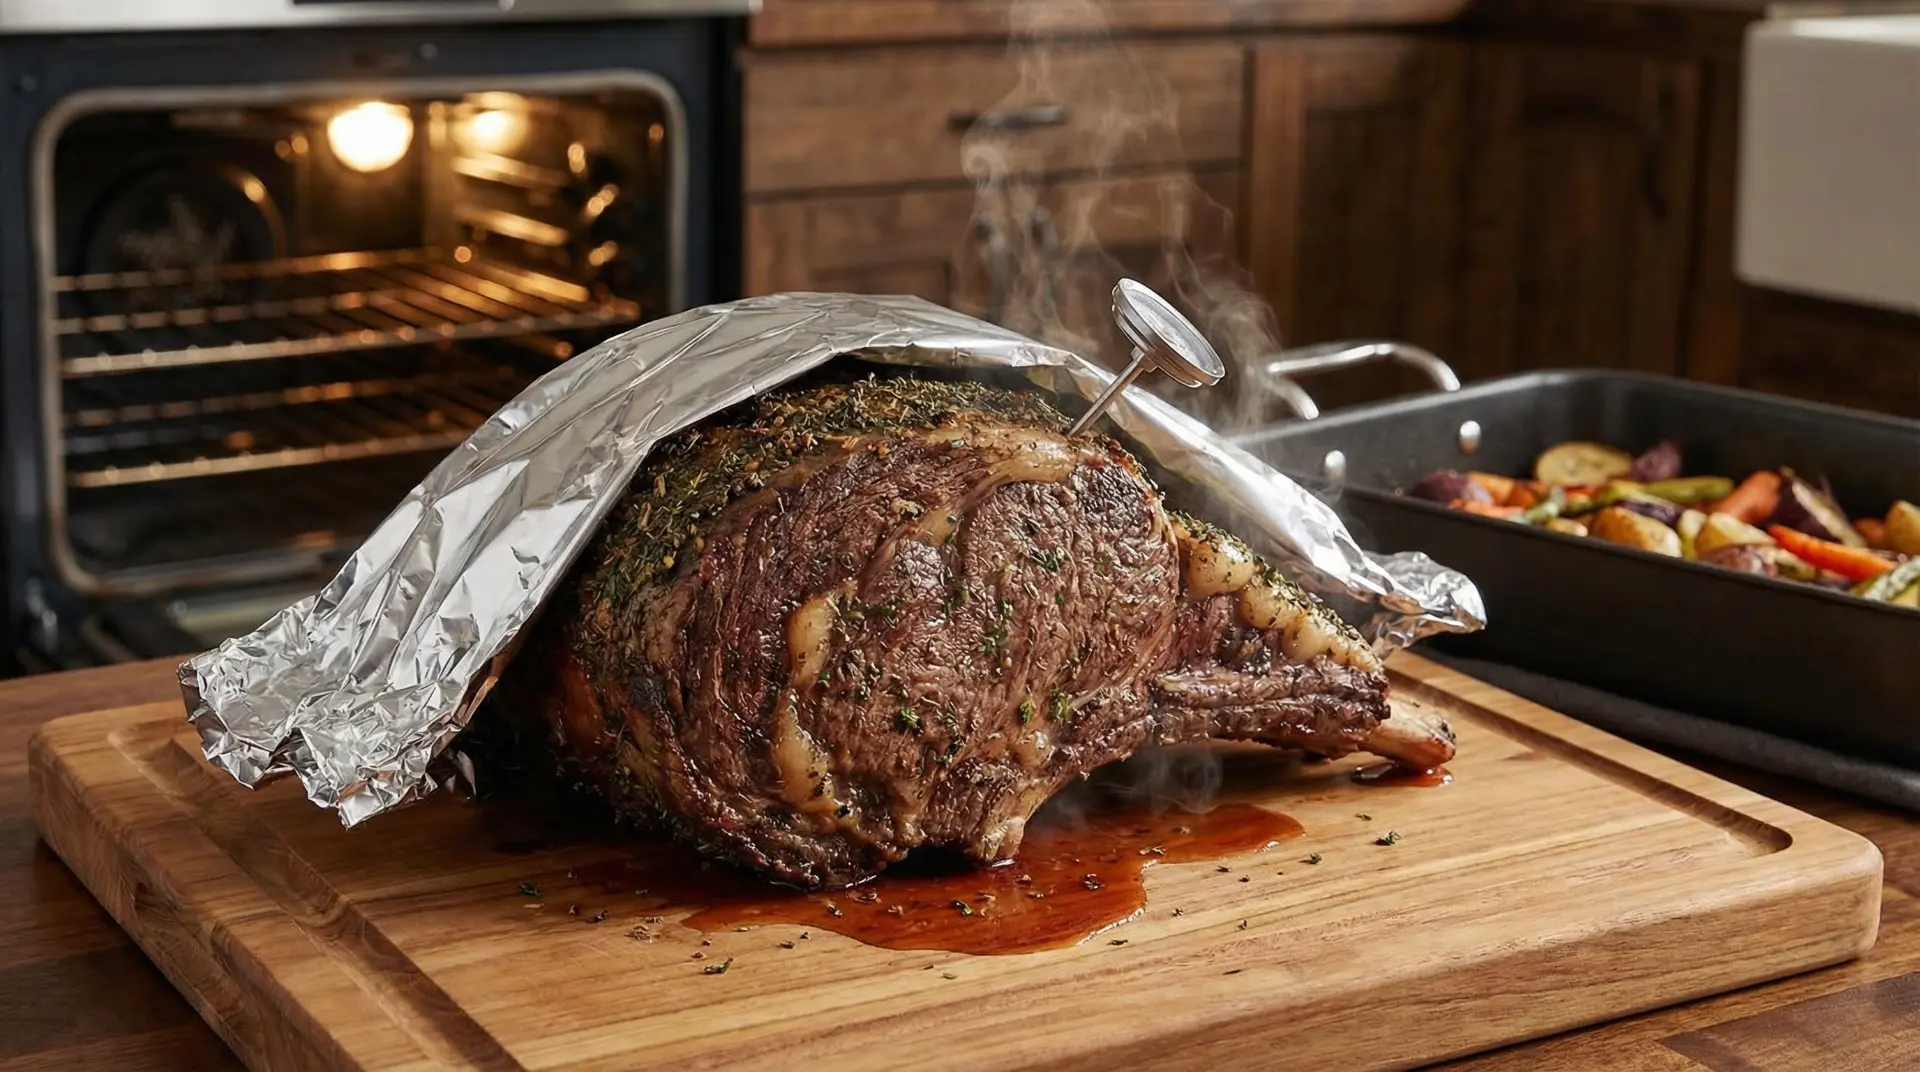
Carryover cooking means food keeps rising in internal temperature after you remove it from heat. The outside is hotter than the center, so heat continues traveling inward until temperatures even out. This matters most with thicker foods, dense foods, and any situation where the exterior got very hot (hard sear, high oven heat). If you cook “until perfect” while it’s still on the heat source, carryover can push you past perfect into dry, tough, or crumbly.
Carryover size depends on thickness, cooking method, and resting conditions. Instead of memorizing a single number, build a habit: pull a little early, rest, then re-check. Once you learn your kitchen’s typical carryover, you’ll hit doneness more reliably with less stress. If you also struggle with uneven cooking, pair this with Heat Transfer in Cooking to understand why surfaces heat faster than centers.
Temperature zones: direct vs indirect heat
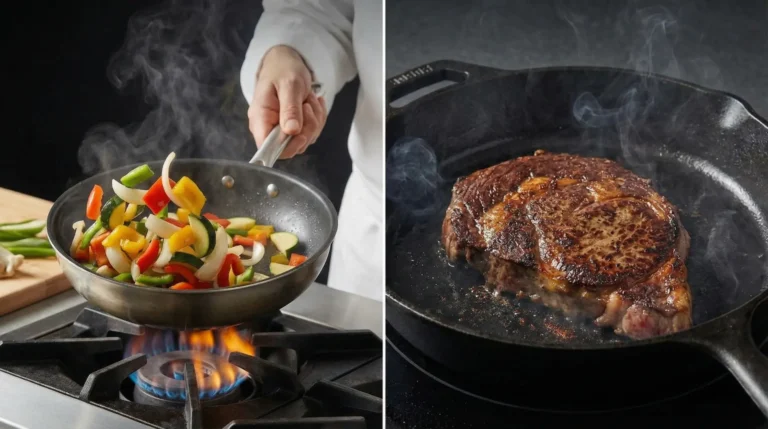
Temperature zones are the easiest way to get both a good exterior and a correct interior. Direct heat is strong heat hitting the surface: a hot pan, a burner, coals, or a broiler. It’s best for browning and crisping because it raises surface temperature quickly. Indirect heat is gentler surrounding heat: the cooler side of a grill with the lid closed, or the steady environment of an oven. It’s best for bringing the center up evenly without burning the surface.
Most frustrating foods need both. Sear with direct heat, then move to indirect heat to finish. On a stovetop, you can create zones by changing burner power, sliding the pan off-center, or moving food to the cooler edge of the pan. In an oven, rack position and timing create zones. If you’re trying to brown without burning, the most direct companion guide is Maillard Reaction because surface temperature and dryness decide whether you get deep flavor or bitter scorch.
When to use a thermometer (and where to probe)
A thermometer is the fastest way to remove guessing. Use it anytime doneness matters and time is unreliable: thick meats, whole birds, fish you don’t want to dry out, and baking where “looks done” can lie. It’s also helpful when equipment varies (your oven runs hot, your pan is thin, or your burner is aggressive). Measuring internal temperature turns cooking from vibes into repeatable control.
Probing is the make-or-break detail. You want the coldest spot, usually the thickest center, and you want to avoid bone, pan contact, or empty air cavities. Probe from the side when possible so you can land in the center. For chicken breasts, aim for the thickest bulge; for steaks and chops, probe horizontally; for whole poultry, check both breast and thigh. Combine this with carryover planning so you pull early and land on your target after resting.
Common temperature mistakes (and quick fixes)
The most common temperature mistake is heat that’s too high for thickness. If the outside browns fast while the inside lags, lower heat after searing or finish with indirect heat so the center catches up. The second mistake is ignoring carryover and resting. If you wait for the final internal temperature while still on heat, you often overshoot. Pull earlier, rest, and re-check so you learn your typical carryover.
A third mistake is trusting time alone. Times are estimates because thickness, starting temperature, and equipment vary. Measure internal temperature until you learn the pattern, then time becomes a supporting cue, not the decision. If your pan seems to cause inconsistent browning because it loses heat when food hits it, cookware heat behavior may be the limiting factor. In that case, see Cookware Heat Performance for retention vs responsiveness rules.
Putting it together: a simple temperature control workflow
Use a three-step workflow: build zones, measure the coldest spot, and plan for carryover. Start hot enough to brown, then shift to gentler heat to finish. Check internal temperature before you think it’s done, not after it’s already overcooked. Pull a little early, rest, then confirm the landing temperature. This removes panic, speeds up cooking, and makes results consistent across different foods and equipment.
If you want a “start here” order inside the cooking science system, use Heat Transfer in Cooking to understand unevenness, then use this temperature control guide to lock in doneness, and then use Maillard Reaction to master browning without burning. For the full hub and reading paths, return to Cooking Science Guide: Heat, Texture, Flavor Timing.
Frequently Asked Questions
How long should I rest meat for carryover cooking?
Rest time depends on thickness and how hot the exterior got. Thin cuts may need only a few minutes, while thicker steaks, chops, and roasts need longer so heat can equalize and carryover can finish gently. A practical method is to rest until the internal temperature stops rising, then slice. Use a thermometer to learn what’s normal in your kitchen.
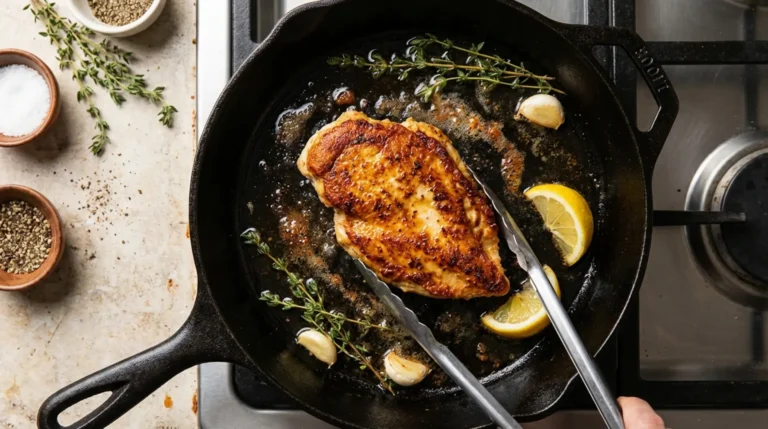
Why is my chicken breast dry even when I follow the recipe time?
Chicken breasts vary in thickness, so time-based cooking often overshoots. Dryness usually means the internal temperature went too high or carryover pushed it past ideal. Use a thermometer, pull a bit early, and rest. Also use zones: sear for color, then lower heat or finish in the oven so the center cooks through without scorching the outside.
Do I need a thermometer if I’m experienced?
Experience helps, but measurement removes variability. Even great cooks use thermometers because thickness, starting temperature, and equipment shift constantly. A thermometer doesn’t replace intuition; it calibrates it. Use it especially for thick proteins, whole birds, fish, and baking, then rely on your senses for browning and texture while the thermometer confirms doneness.
Conclusion
Cooking temperature control is the difference between “sometimes good” and “repeatably great.” Plan for carryover, cook with zones so surfaces don’t outpace centers, and measure doneness by probing the coldest spot. Once those three are habits, you’ll stop overcooking, reduce stress, and cook faster because you’ll know exactly when to stop.
Next Step: How to Make Food Crispy
Latest posts

About