Cooking Science for Home Cooks: Control Heat, Texture, and Flavor
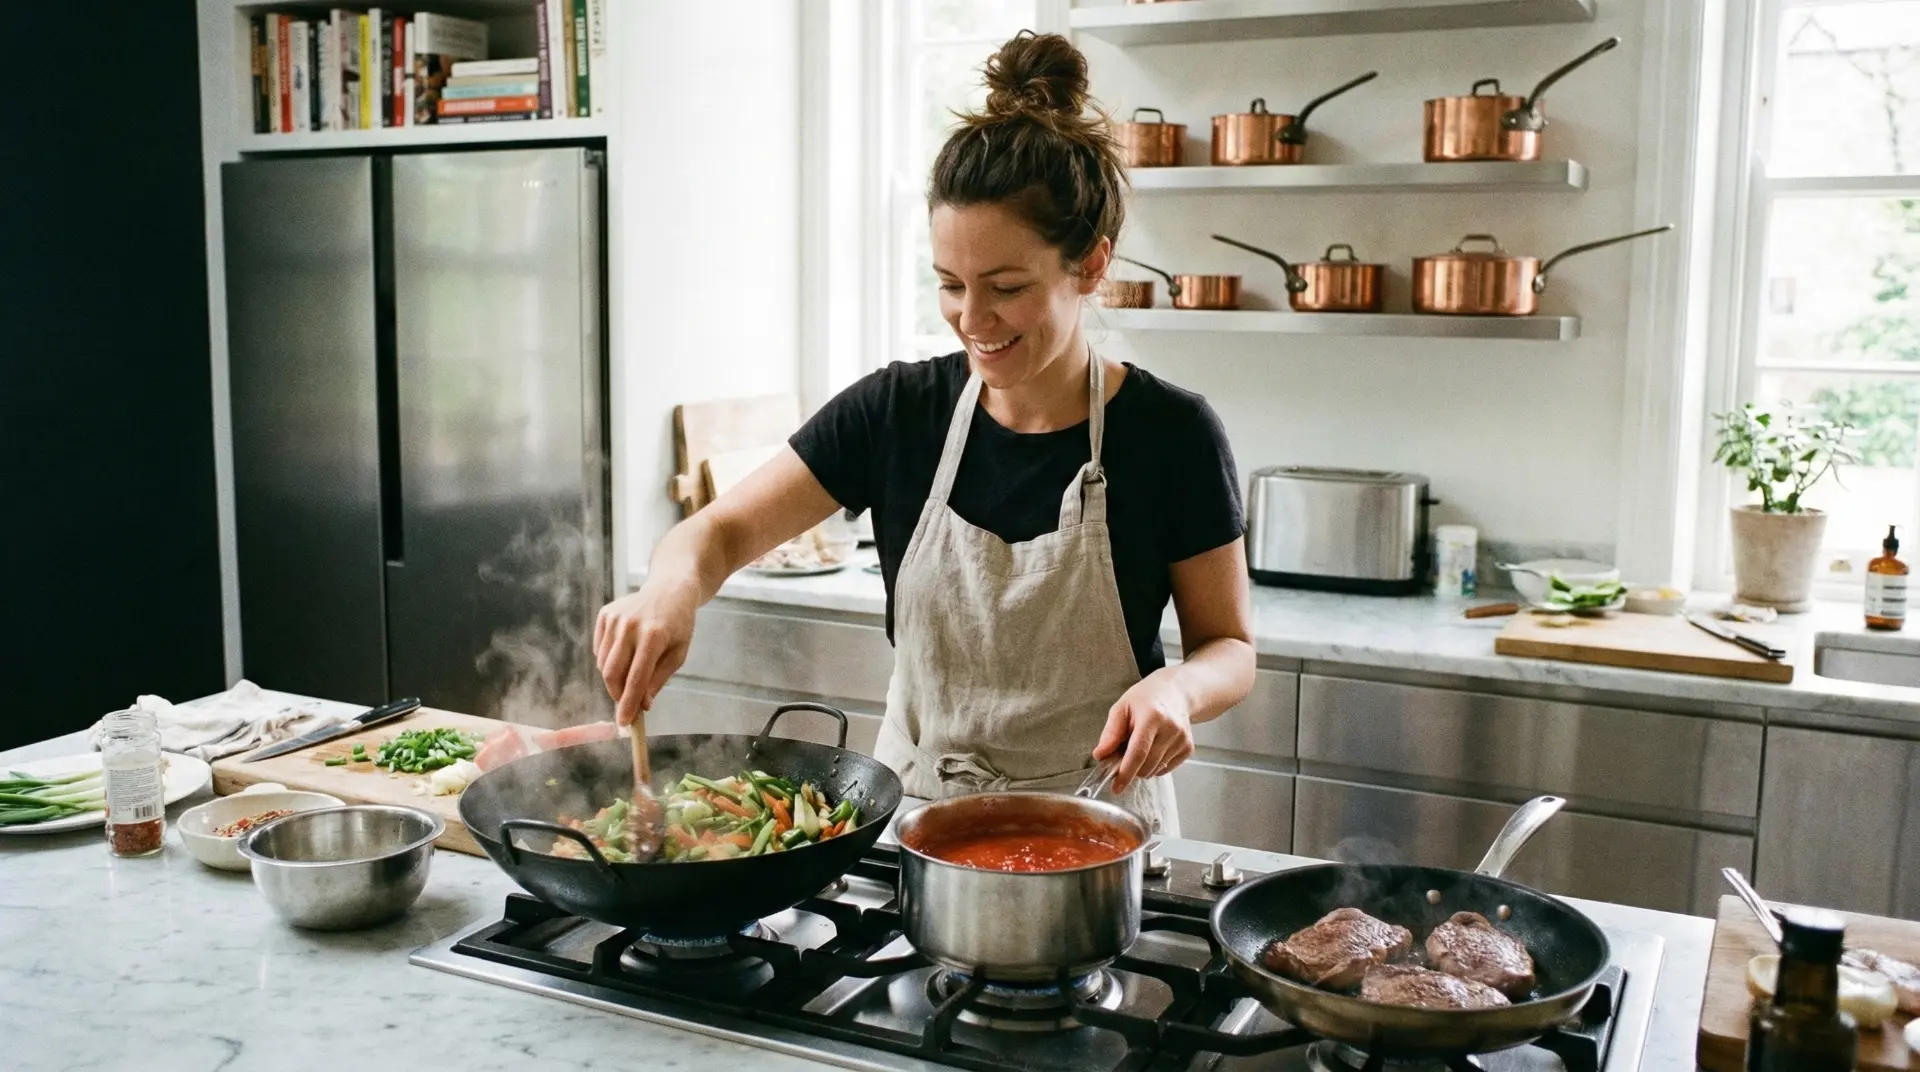
Cooking science isn’t about being fancy—it’s about making results predictable. Once you understand how heat moves, why moisture changes texture, and what temperature does to proteins and starches, you stop guessing. This cooking science guide gives you the core rules behind browning, doneness, crispiness, juiciness, and why the same recipe can turn out differently from one night to the next.
Start here: Begin with Heat Transfer to fix uneven cooking, then use Cooking Temperature Control to nail doneness consistently. From there, jump to browning, crispiness, salting, or cookware based on what you’re trying to fix—and loop back to this hub anytime.
How heat changes food (the big picture)
Heat is the driver of every cooking outcome, but what's really happening is just change: raw becomes set, tough becomes tender, pale becomes browned, watery becomes crisp. Those changes happen because heat moves energy into food, and that energy drives physical and chemical shifts. Proteins tighten, collagen breaks down, starches gelatinize, water evaporates, and sugars/amino acids create new flavor compounds. If you don’t understand those shifts, cooking can be guesswork. If you do, you can predict what will happen and plan ahead.
Two principles explain most results. First: heat always moves from hot to cold, and it moves at different speeds depending on the method and the food. Second: moisture is a key variable for temperature. As long as surface moisture is evaporating, it prevents high surface temps and slows browning. That’s why drying, preheating, spacing, and timing matter so much. If your food is browned outside but raw inside, or cooked through but refuses to brown, you’re probably dealing with heat transfer + moisture behavior. To go deeper on why heating is uneven and how to fix it, use Heat Transfer.
Moist heat vs dry heat (when to use which)
Moist heat methods (simmering, steaming, braising) excel at even doneness and tenderness. They surround food with water or water vapor, which transfers heat efficiently and keeps temperatures relatively capped around the boiling point of water. That’s why moist heat is forgiving: it’s hard to accidentally blast the outside while the inside stays cold. It’s also why moist heat is terrible for browning since wet surfaces can’t climb to browning temps until moisture evaporates. If you want tender, moist heat wins. If you want crisp or deep brown flavor, moist heat has to be paired with a drying or finishing step.
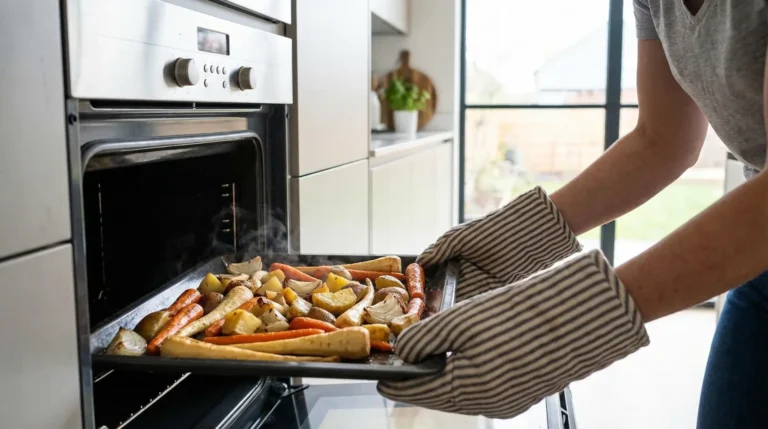
Dry heat methods (roasting, baking, sautéing, frying, broiling) are how you build surface flavor and texture. These methods allow higher surface temperatures, which unlock browning and crispiness if you manage the moisture correctly. The tradeoff is unevenness: dry heat can overcook surfaces while interiors lag behind, especially with thick cuts and cold-start food. The pro move is choosing the method based on the goal: use moist heat to get tender and even, then switch to dry heat to brown and crisp; or use dry heat with controlled temperature zones to keep interiors safe while you brown the surface. If browning keeps failing or turns to burning, the mechanism is explained in Maillard Reaction.
Temperature control: carryover heat, zones, and probing
Temperature is the best method to determine if your food is done. Time is not a reliable measurement because heat transfer varies by thickness, starting temp, cookware, crowding, and the exact heat output of your burner/oven. That’s why directions like "cook 7 minutes per side” have unpredictable results. Temperature control means two things: (1) using heat zones intentionally (direct vs indirect, hot vs warm parts of a pan/oven), and (2) verifying doneness with a thermometer when precision matters. Once you do this, you stop overcooking out of fear or undercooking out of optimism.
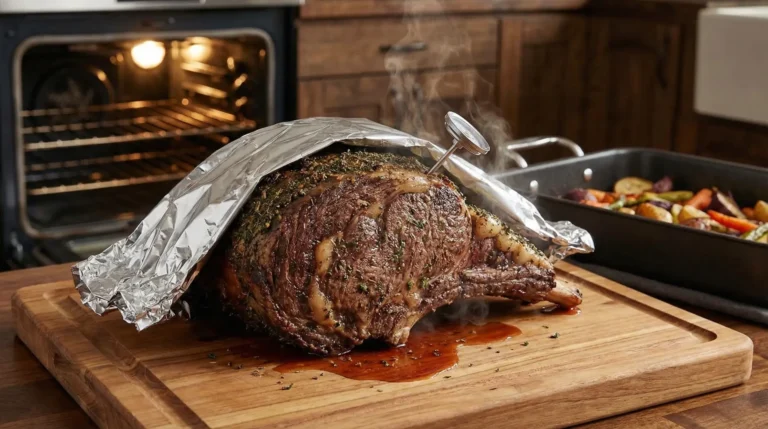
Carryover cooking is the other big miss: food continues cooking after you remove it from heat because stored heat in the exterior migrates inward. Thick cuts and dense foods carry over more. Resting isn’t just to preserve juiciness, it’s for temperature equalization. Probing technique matters too: you’re measuring the coldest point that must reach safe/desired doneness, not the hottest point near the surface. If you want the full workflow (zones + carryover + where to probe + common mistakes), use Cooking Temperature Control.
Texture control: crispy, tender, and juicy (it’s mostly moisture)
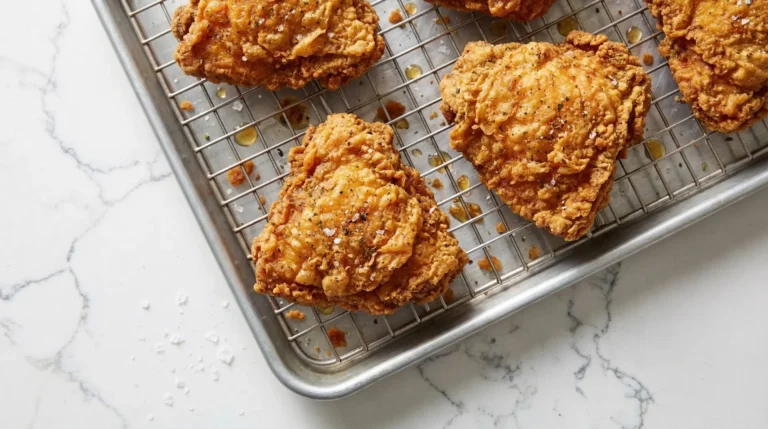
Texture is where cooking science pays off immediately. Crispiness requires dehydration: you need surface moisture gone so the surface temperature can rise high enough to create a crunchy, dry structure. Tenderness often requires the opposite: enough moisture and controlled heat to avoid squeezing proteins tight, plus time if you’re breaking down collagen. Juiciness is partly water retention, partly fat, and partly timing (especially not overshooting final temperature). Most texture issues are moisture management failures: food is steaming itself because it’s crowded, surface water wasn’t removed, or the cooking environment traps humidity.
Use the right plan for the texture you want. For crispy: dry the surface (pat dry, air-dry, salt/rest), use enough heat, and avoid crowding so moisture can escape. For tender: use moderate heat, consider moist-heat methods for tough cuts, and avoid aggressive high heat that tightens proteins. For juicy: stop at the right temperature and rest appropriately so internal juices redistribute. If you want the most actionable rules for crispy and crunchy (and how to keep food crispy after cooking), go to How to Make Food Crispy.
Flavor building: browning, fat, aromatics, and timing
Flavor in cooking is usually the combination of browned compounds, aromatic compounds carried by fat, and balanced seasoning. Browning builds depth and savory complexity, but it’s not automatic. You need the right temperature and a dry enough surface. Fat is the flavor courier: many aroma compounds dissolve in fat, so fat helps distribute flavor and create a sense of richness. Aromatics (onion, garlic, spices, herbs) need correct timing: some want long cooking for sweetness and softness, others want brief cooking so they don’t go bitter or dull.
The biggest pattern: if food tastes flat, it’s often missing one of three things: browning, fat integration, or salt. If it tastes heavy, it often needs acid or brightness for balance. Whatever the case, the foundation is still the same: build browning and flavor early (don’t crowd, preheat), bloom aromatics briefly in fat when appropriate, and season with intention rather than as an afterthought. If you keep getting weak browning or burned outsides, the underlying mechanics are covered in Maillard Reaction.
Common cooking mistakes (and quick fixes)
Most cooking mistakes are predictable because they come from a handful of repeated causes: heat too low, heat too high, too much moisture, and timing errors. Under-browning is usually a preheat/crowding/moisture problem. Over-browning is usually heat too high or sugar/protein burning early. Dry meat is almost always over-temperature (not over-time), often compounded by slicing too soon or skipping rest. Soggy food that was supposed to be crispy usually means steam got trapped. This can happen from crowding, a humid environment, or saucing too early.
The fix is usually one decisive move: (1) increase surface drying and spacing for browning/crisp, (2) control final temperature with a thermometer for doneness, (3) switch methods (moist heat first, dry heat finish) for tenderness + browning, or (4) change your cookware/heat responsiveness if your pan is fighting you. If you’re unsure why your pan behaves inconsistently like hot spots, weak sear, or sticking, check to see if your cookware is the culprit. Cookware Heat Performance will clarify why.
Tools that make results repeatable (thermometers, pans, and simple setup)
Repeatability is less about fancy tools and more about having the right measurement and control points. A good instant-read thermometer turns doneness into a fact instead of a guess. A stable pan means it matches your goal: nonstick for delicate eggs/fish, stainless for fond and pan sauces, cast iron for heat retention and aggressive searing. You then will have consistent heat behavior in the kitchen. A simple setup habit (preheat fully, dry surfaces, use enough space) often matters more than the brand-name.
Think of tools as removing problematic variables. Thermometers remove the variable of uncertainty. The right cookware removes the variable of unpredictable heat response and sticking. A cooling rack removes the variable of trapped steam (so crisp textures stay crisp). Even a cheap kitchen scale can remove the variable of inconsistent salt ratios in brines. If you want a practical buying-and-usage guide focused specifically on heat behavior (retention vs responsiveness), go to Cookware Heat Performance.
Recommended reading paths
Start here for the fastest wins: If food cooks unevenly or browns outside while staying raw inside, begin with Heat Transfer. If your doneness is inconsistent (overcooked one night, undercooked the next), go next to Cooking Temperature Control. Those two alone remove most guesses from cooking.
Choose your problem: For better browning without burning, use Maillard Reaction. For crispiness (and keeping it crispy), use How to Make Food Crispy. For flavor + juiciness control with salt, use Salt, Brining, and Marinades. For pan choice and heat behavior, use Cookware Heat Performance. Work through them in whatever order matches your main pain point and then come back here anytime you want the full overview.
Frequently Asked Questions
What is cooking science in simple terms?
Cooking science is the set of repeatable rules that explain what heat, moisture, and time do to food. It helps you predict outcomes with browning, doneness, and texture so you can fix problems (uneven cooking, soggy crusts, dry meat) with technique instead of guesswork.
Why does my food brown on the outside but stay raw inside?
This usually happens when surface heat is high but heat hasn’t had time to move inward. Thick cuts, cold starts, and very hot pans can cause fast browning before the center warms. Use lower heat after searing, finish with indirect heat, and rely on heat transfer rules (and a thermometer) for consistency.
What’s the fastest tool to improve cooking results?
An instant-read thermometer. It removes guessing and helps you stop cooking at the right moment, which directly improves juiciness and doneness. Pair it with basic heat-management habits (preheat, avoid crowding, dry surfaces), and your results become dramatically more repeatable.
Conclusion
Cooking gets dramatically easier once you treat it like cause and effect: heat moves in specific ways, moisture controls temperature and texture, and doneness is a temperature outcome rather than a timing estimate. Use this resource to diagnose what’s going wrong, then jump into the article that matches your pain point. The goal isn’t perfection, it’s repeatability.
Latest posts

About