How to Make Food Crispy: The Science of Moisture Removal
If your fries soften, your chicken skin stays rubbery, or your crispy coating turns to mush, it’s almost always the same enemy: moisture. Crispiness is a texture that only exists when the surface is dry enough to harden and shatter. The good news is you don’t need secret ingredients, you need control over drying, heat, and timing.
This article is part of the cooking science series. For all of the reads on heat, temperature, browning, tools and more, go back to Cooking Science Guide..
Why moisture kills crispiness
Crispiness is a dryness event. A crisp surface exists when the outside layer is dehydrated enough to become firm and brittle. The moment that surface is surrounded by steam or coated in water-based liquid, it softens. That’s why crispy foods fail in predictable situations: a crowded pan (trapped steam), a covered container (condensation), stacked hot food (steam reabsorbs), or sauce added too early (surface re-wetted). Even if you cooked it perfectly, you can undo crispiness in minutes if you handle it wrong after cooking.
Turning up the heat often backfires when the surface is wet. Higher heat mostly increases evaporation and can scorch sugars and proteins before moisture escapes evenly. The better rule is simple: remove moisture first, then apply the right heat to set and brown the surface. Browning also strengthens crisp texture, so if your crisp foods lack color and structure, read Maillard Reaction for the browning conditions that support crunch.
Drying methods that actually work (air-dry, pat dry, resting)
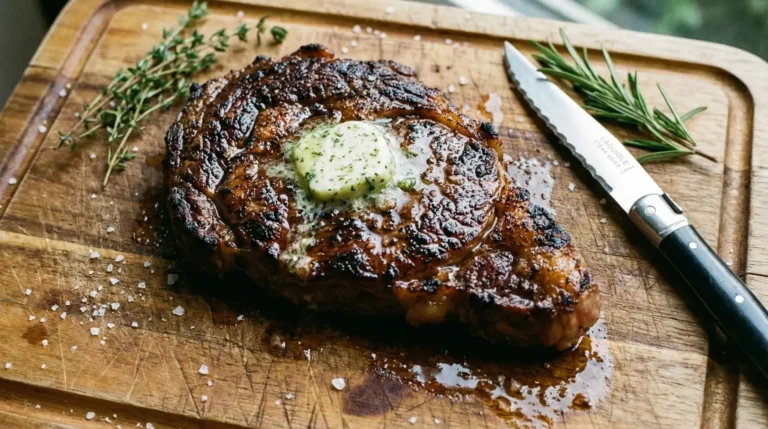
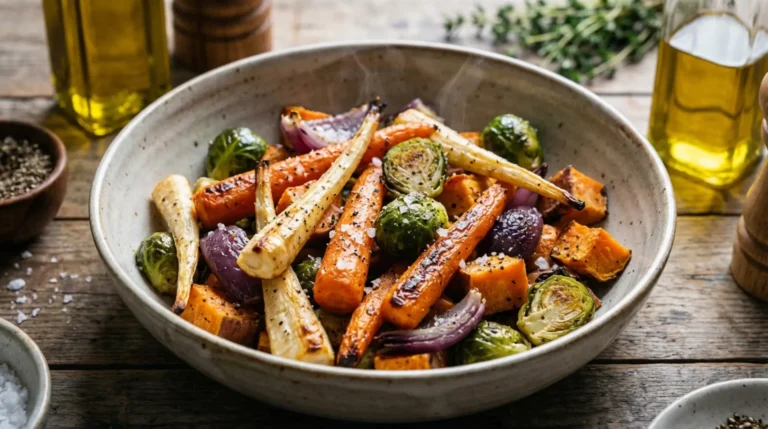
Pat-drying is the fastest, highest-ROI move for crispiness. It removes the water layer that prevents surface temperature from rising. This applies to meat before searing, vegetables before roasting, tofu before crisping, and fish before pan cooking. A drier surface browns faster and crisps faster. If you do nothing else, do this, because it immediately changes how heat interacts with the surface.
Air-drying uncovered in the fridge is the next-level method for skin and coatings. It dehydrates the surface gently and evenly, which reduces steaming during cooking and improves browning and crisp potential. After cooking, resting on a rack matters because hot food releases steam; if you trap that steam on a plate or under a lid, the surface reabsorbs moisture and softens. For the deeper “why” behind uneven crisping and heat patterns, use Heat Transfer in Cooking to understand where moisture and heat accumulate.
Oven vs air fryer vs deep fry: which makes crispier results?
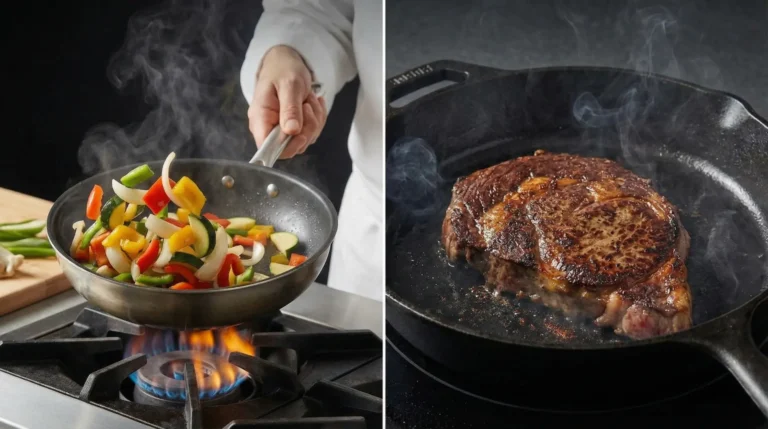
Deep frying is the most reliable crisping method because hot oil transfers heat aggressively and evenly to the surface. It drives rapid evaporation and sets the crust quickly, often before the interior overcooks for smaller items. Air fryers can get close because they blast moving hot air across the surface, which speeds evaporation compared to a still oven. Traditional ovens can absolutely crisp, but they’re more sensitive to crowding and moisture load, meaning you need better spacing and sometimes more time to dry the surface enough.
The practical pick depends on the job. For maximum crunch, deep fry. For less oil, go with air frying, but only if you leave space for airflow and use a light oil coating to boost surface heat transfer. For big-batch roasting, ovens work well if you spread food out and avoid trapped steam. Across all methods, crowding is the biggest failure mode. If you want crisp exteriors without overcooking interiors, pair crisp strategy with Cooking Temperature Control so you can finish gently after the surface sets.
How to keep food crispy longer (cooling rack, sauce timing)
The fastest way to keep food crispy is to prevent condensation. Use airflow underneath by resting crispy items on a rack, not a plate. Don’t cover hot crispy food in a sealed container, because trapped steam turns into condensation and re-wets the surface. If you must hold crisp food, keep it warm with airflow rather than sealing it and hoping for the best.
Sauce timing is the other major lever. Sauce is moisture, and once it hits a crisp surface, the clock starts on soggy. Serve sauce on the side, drizzle at the last second, or sauce only part of the dish. If you want crispy and sauced, you need speed and strategy, not extra heat. For deeper crust that resists softening, use Maillard Reaction to build stronger browning structure before you add any wet toppings.
Putting crispiness on autopilot: a simple crisp workflow
Use a simple workflow: dry, space, heat, and vent. Dry the surface before cooking, space pieces so steam can escape, use enough heat to drive evaporation and set the crust, then vent and rest with airflow so condensation can’t undo your work. If crispiness fails, diagnose the stage where moisture won: surface too wet, cooking too crowded, heat too low, or holding too sealed.
If you’re learning the master techniques within cooking science, crispiness sits between browning and temperature control. Use Maillard Reaction for browning structure, use Cooking Temperature Control for doneness, and return to Cooking Science Guide for all of the articles.
Frequently Asked Questions
Why does my crispy food turn soggy after a few minutes?
Because steam and condensation re-wet the surface. Hot food releases moisture, and if it’s stacked, covered, or placed on a solid plate, that moisture gets trapped and absorbed back into the crust. Use a wire rack for airflow, don’t cover until cooled, and add sauce at the last second or on the side to protect the crisp layer.
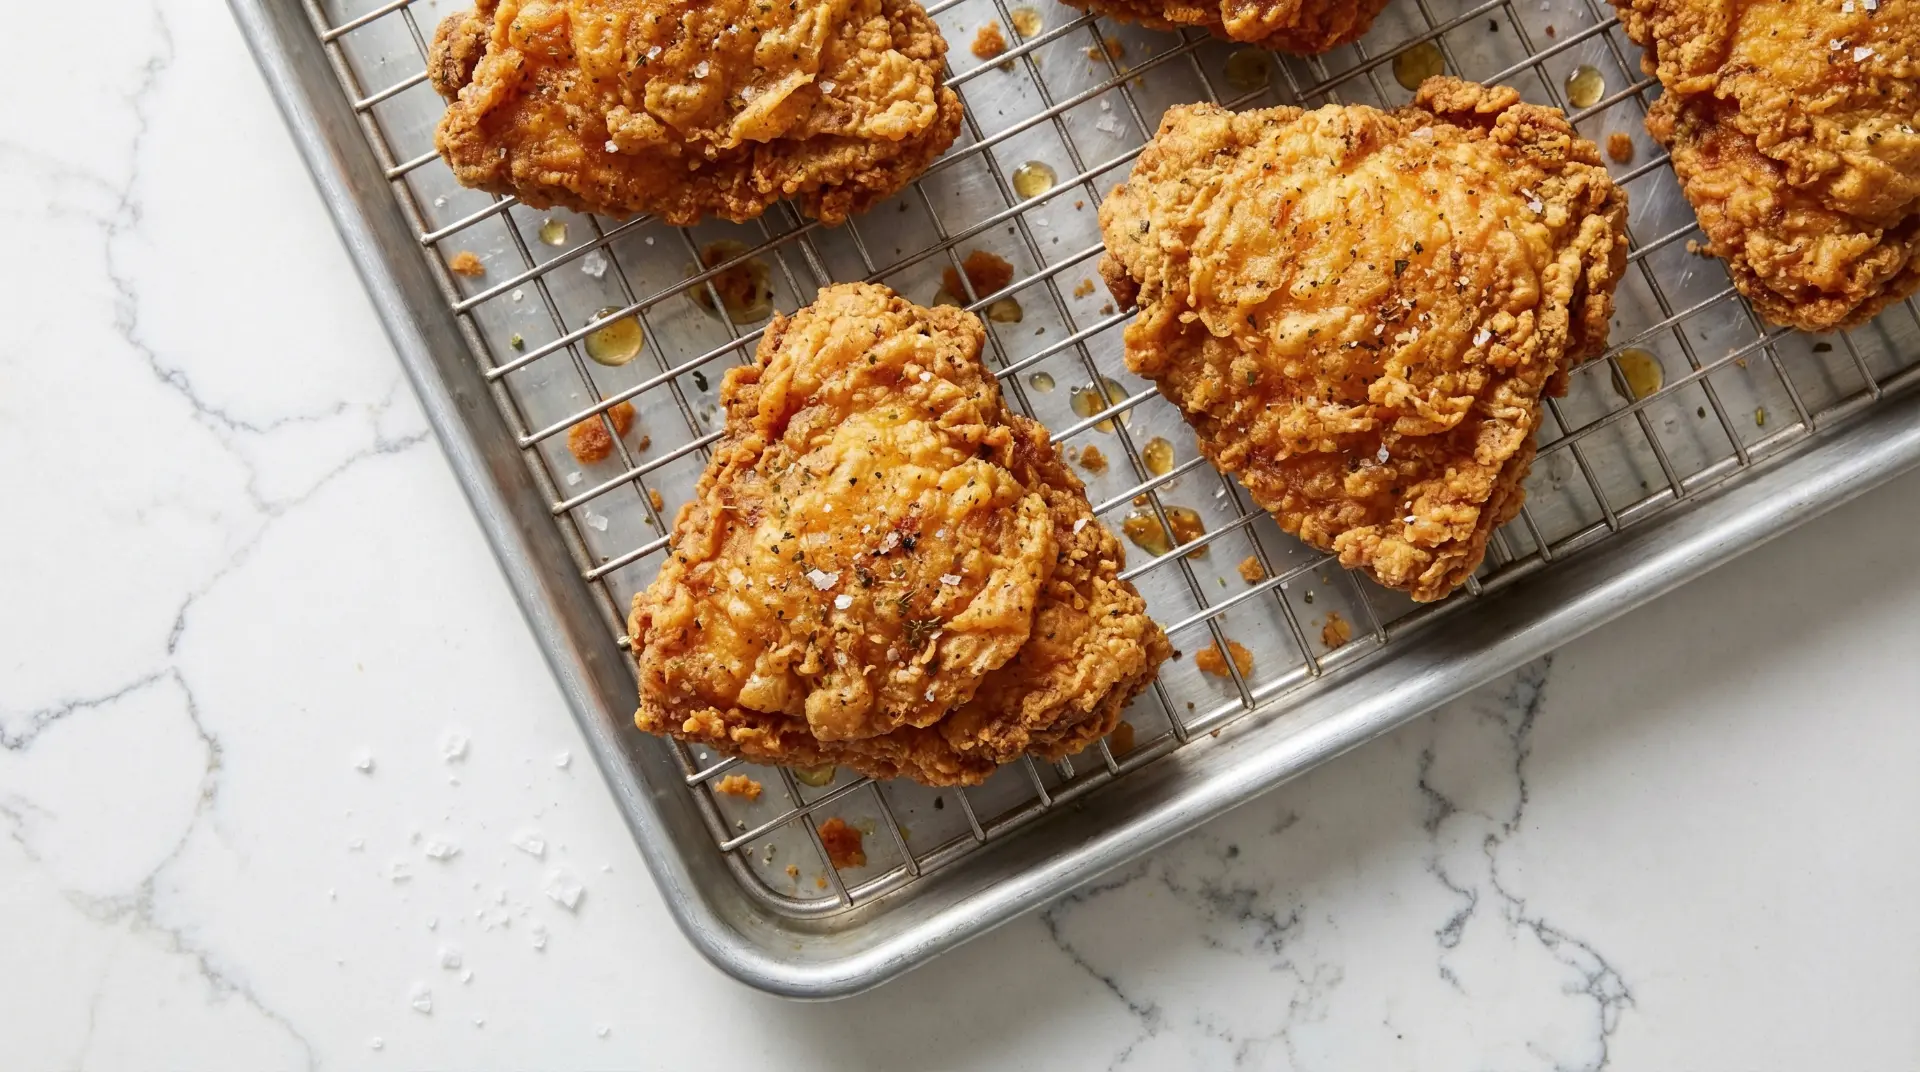
How do I make chicken skin crispy in the oven?
Dry the skin thoroughly, then air-dry uncovered in the fridge if you can. Roast on a rack so air circulates and fat can render without steaming. Use enough heat to drive evaporation, then finish with higher heat or a short broil for final crisp. Avoid crowding the pan, which traps steam and softens the skin.
Is an air fryer crispier than an oven?
Often yes, because it moves hot air aggressively and removes surface moisture faster than a still oven. But it only works if you leave space for airflow. If you pack the basket, you create steam and lose crispiness. A light oil coating can also help by improving surface heat transfer and browning.
Conclusion
Crispiness is not a mystery ingredient, it’s moisture management. Dry the surface, give steam a way out, use enough heat to set and brown the exterior, and hold food with airflow so condensation can’t undo your work. Once you treat moisture like the main variable, cooking crispy food is easy and repeatable.
Next Step: What brines and marinades actually do for flavor.
Latest posts


About