How to Roast Vegetables So They’re Crispy and Sweet
Roasting vegetables should be the easiest set it and forget it technique, yet most home-cooked vegetables turn out limp, watery, and unevenly browned. If your veggies steam instead of caramelize, it’s almost never the recipe. It’s moisture, spacing, and temperature management. Once you control those three, roasted vegetables become reliably crisp at the edges and sweet in the middle.
This article is part of the Master Cooking Techniques hub, where you’ll find the core moves that make delicious results repeatable.

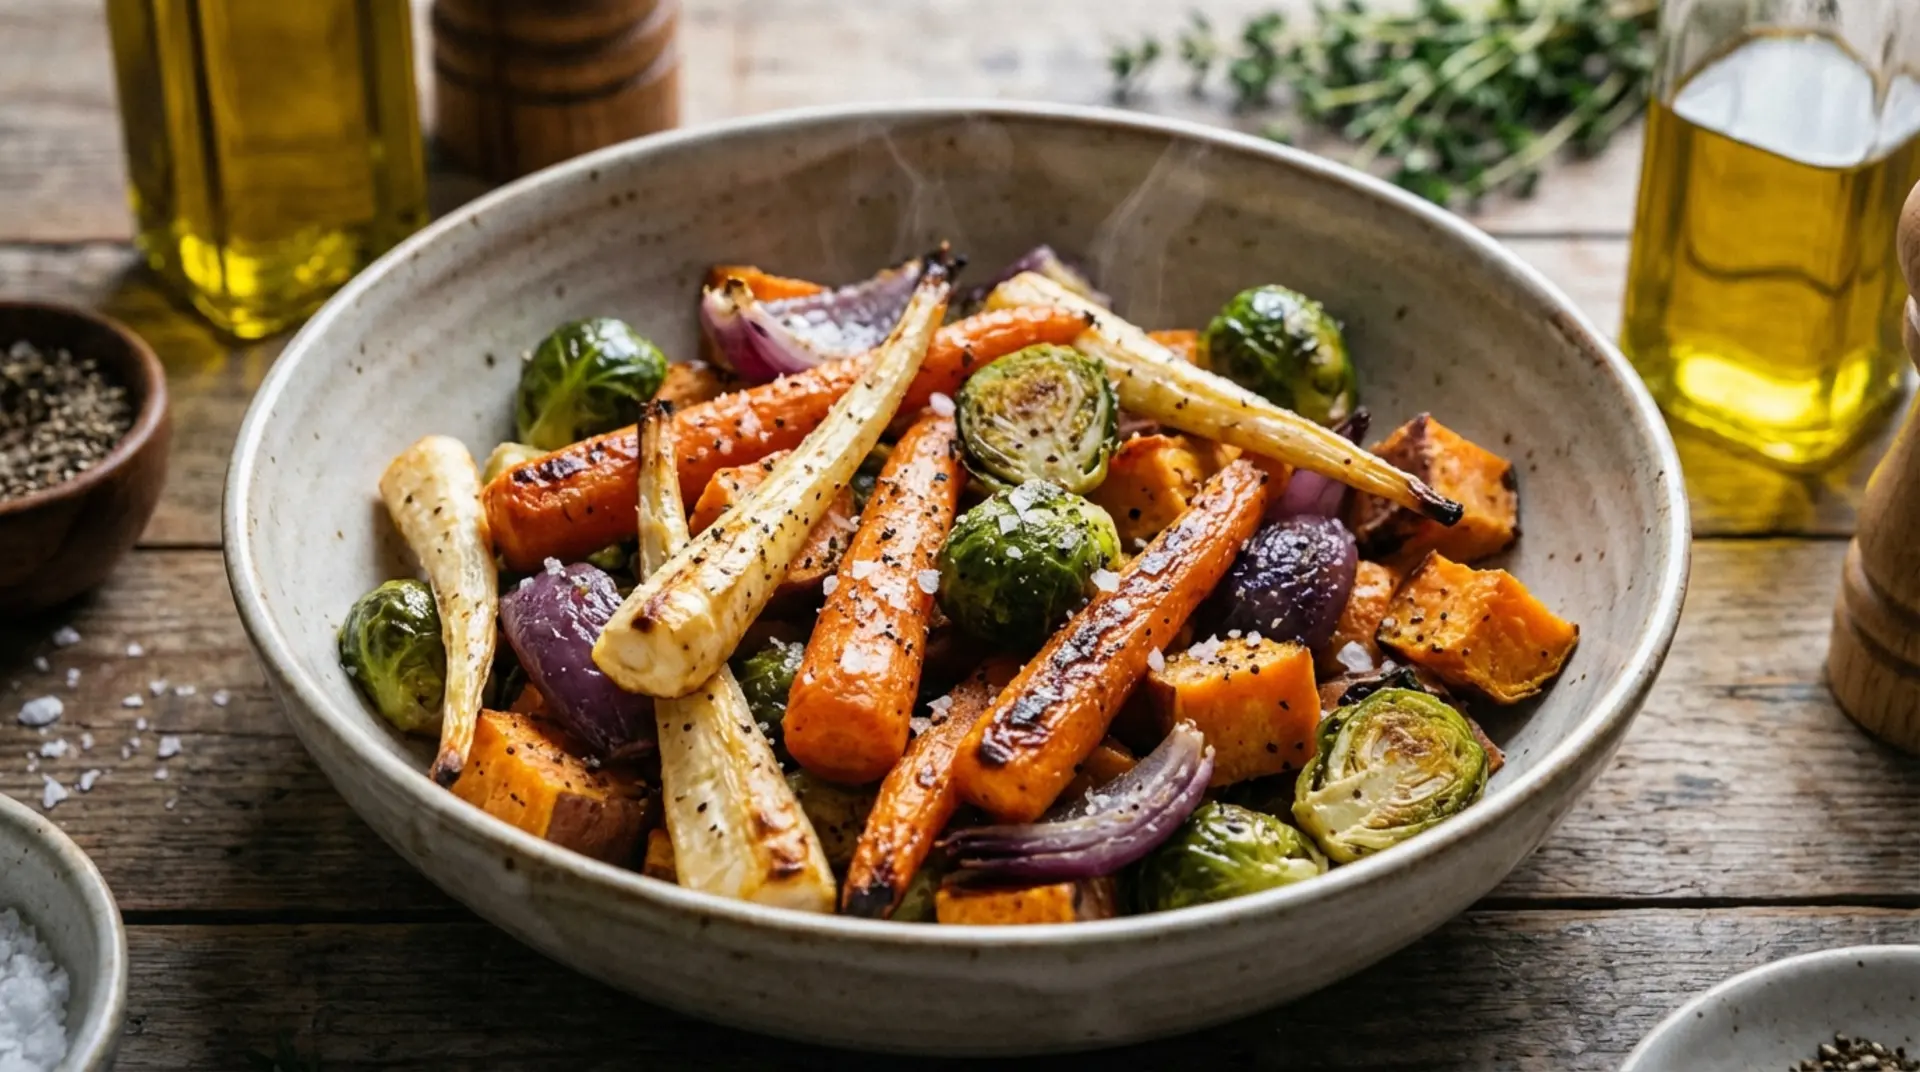
Roasting vegetables for even browning (the big picture)
Most roasted vegetable failures come from one problem: the oven is doing wet heat instead of dry heat. When vegetables are crowded in a pan or start too wet, the moisture they release has nowhere to go. It turns into steam trapped around the food, and steam blocks browning. That’s why you get soft texture and pale color even at high temperatures. Roasting works when the oven environment lets moisture escape quickly so the surface can dry and brown.
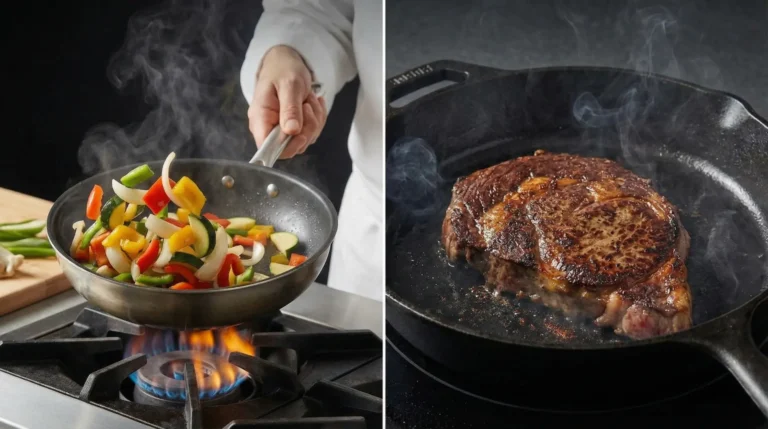
The repeatable goal is simple: maximize surface exposure and minimize trapped moisture. You do that with a fully preheated oven, a hot sheet pan, enough space between pieces, and cuts that finish at the same time. Then you finish with additions for brightness and depth. Similar rules apply with a difference process if you want to pan-sear. Before finishing consider an easy pan-sauce by deglazing for a complete dish.
Your pan and spacing change your whole roasting setup
Roasting is less about the recipe and more about the tray. The best setup is a standard rimmed sheet pan with vegetables spread in a single layer. If pieces overlap, they're steaming. Even if pieces touch tightly, they're steaming. If the pan is too small, again, they're steaming. You want air gaps so hot air can circulate and water vapor can escape. Think dry heat exposure, which you won't get in a pile of vegetables.
Preheat matters. Preheat the oven fully, and ideally preheat the sheet pan too. A hot pan gives vegetables an immediate jump-start on surface evaporation, which leads to better browning. If your vegetables keep coming out watery, the tray is often the culprit. Your most practical rule: use two sheet pans instead of one if you’re roasting more than one pan can spaciously hold in a single layer.
Size rules for how to cut vegetables for even cooking
Uneven roasting is usually a knife problem, not an oven problem. Small pieces finish early and burn while large pieces stay undercooked. The goal isn’t perfect geometry, just consistent thickness so heat reaches the center at the same pace across the tray. As a baseline, aim for pieces that are roughly the same thickness even if their shapes vary.
Dense vegetables should be cut smaller than watery vegetables because dense vegetables need more time for heat to penetrate. If you’re mixing vegetables on one tray, either cut slower-cooking vegetables smaller or roast in stages. This is the difference you need for everything to be done together. If prep feels slow, unsafe, or chaotic, learn a few efficient patterns in knife skills and you’ll naturally improve roasting outcomes.
Oil + salt timing for roasted vegetables
Oil helps with browning by improving surface contact and heat transfer, but too much oil can make vegetables feel heavy and can pool on the tray. Salt is trickier because it pulls water to the surface over time. If you salt very watery vegetables far in advance, you can create extra surface moisture and slow browning. That doesn’t mean never salt, it means salt with timing that supports your goal.
A reliable system is: toss vegetables with oil first, roast, then finish with salt adjustments at the end. Dense vegetables usually tolerate pre-salting well. Very watery vegetables do better when salted closer to roasting or at the end. If you’re aiming for a glaze or finishing drizzle, keep oil moderate so the sauce can cling instead of sliding off. For glaze-style finishes on your roasted veggies, ensure you're reducing your sauce for the right consistency and concentrated flavor.
When to stir or flip roasted vegetables (and when not to)
Stirring is not always helpful. Every time you stir, you release steam and interrupt contact between the hot pan and the vegetable surface. For browning, you want contact. For even cooking, you want some movement. The trick is timing: stir once or twice at the right moment instead of constantly checking and shuffling.
Let the vegetables roast undisturbed until you see browning on the side touching the pan and edges starting to darken. Then flip or stir once to expose a new surface and finish. If you stir too early, you interrupt browning. If you never stir, you may get uneven top texture. One intentional flip in the middle is often enough. If you’re unsure whether you’re roasting or accidentally sautéing in the oven, the principles from sautéing vs searing applies here too: contact builds color; movement prevents it.
Frequently Asked Questions
Why do my roasted vegetables come out soggy instead of browned?
Sogginess usually means steaming: the pan is crowded, the vegetables started too wet, or the oven and pan weren’t fully preheated. Spread vegetables in a single layer with space, dry wet vegetables before oiling, and roast in a fully preheated oven. If needed, use two sheet pans instead of one.
What temperature is best for roasting vegetables for browning?
Most vegetables brown best in a hot oven, typically around 425°F, because higher heat drives faster surface evaporation. But spacing and cut size matter more than a single magic temperature. If your tray is crowded, even 450°F will steam.
Should I salt vegetables before or after roasting?
You can do either, but timing affects moisture. Dense vegetables tolerate pre-salting well. Very watery vegetables can get wetter if salted too early, which slows browning. A safe system is oil + roast, then adjust salt at the end, finishing with acid or herbs for brightness.
Conclusion
Roasting vegetables is easy once your setup is consistent: hot oven, ideally a hot sheet pan, one layer with space, and cuts that cook at the same pace. Use oil intentionally, salt with timing that supports browning, stir once at the right moment, and finish with acid and herbs so flavors pop. Do those few things and roasting becomes your most reliable weeknight technique.
Latest posts
About