Pan-Searing Made Simple: Perfect Crust and Juicy
Pan-searing is the fastest way to make food taste restaurant quality at home—because a real crust creates deep flavor and better texture in minutes. If you keep getting gray meat, burning, or sticking, it’s not bad luck. It’s a few controllable variables: surface moisture, pan heat stability, crowding, and when you try to move the food.
This is one of the core skills in the Master Cooking Techniques hub. Once pan-searing clicks, read about deglazing pan bits into an easy and delicious sauce.

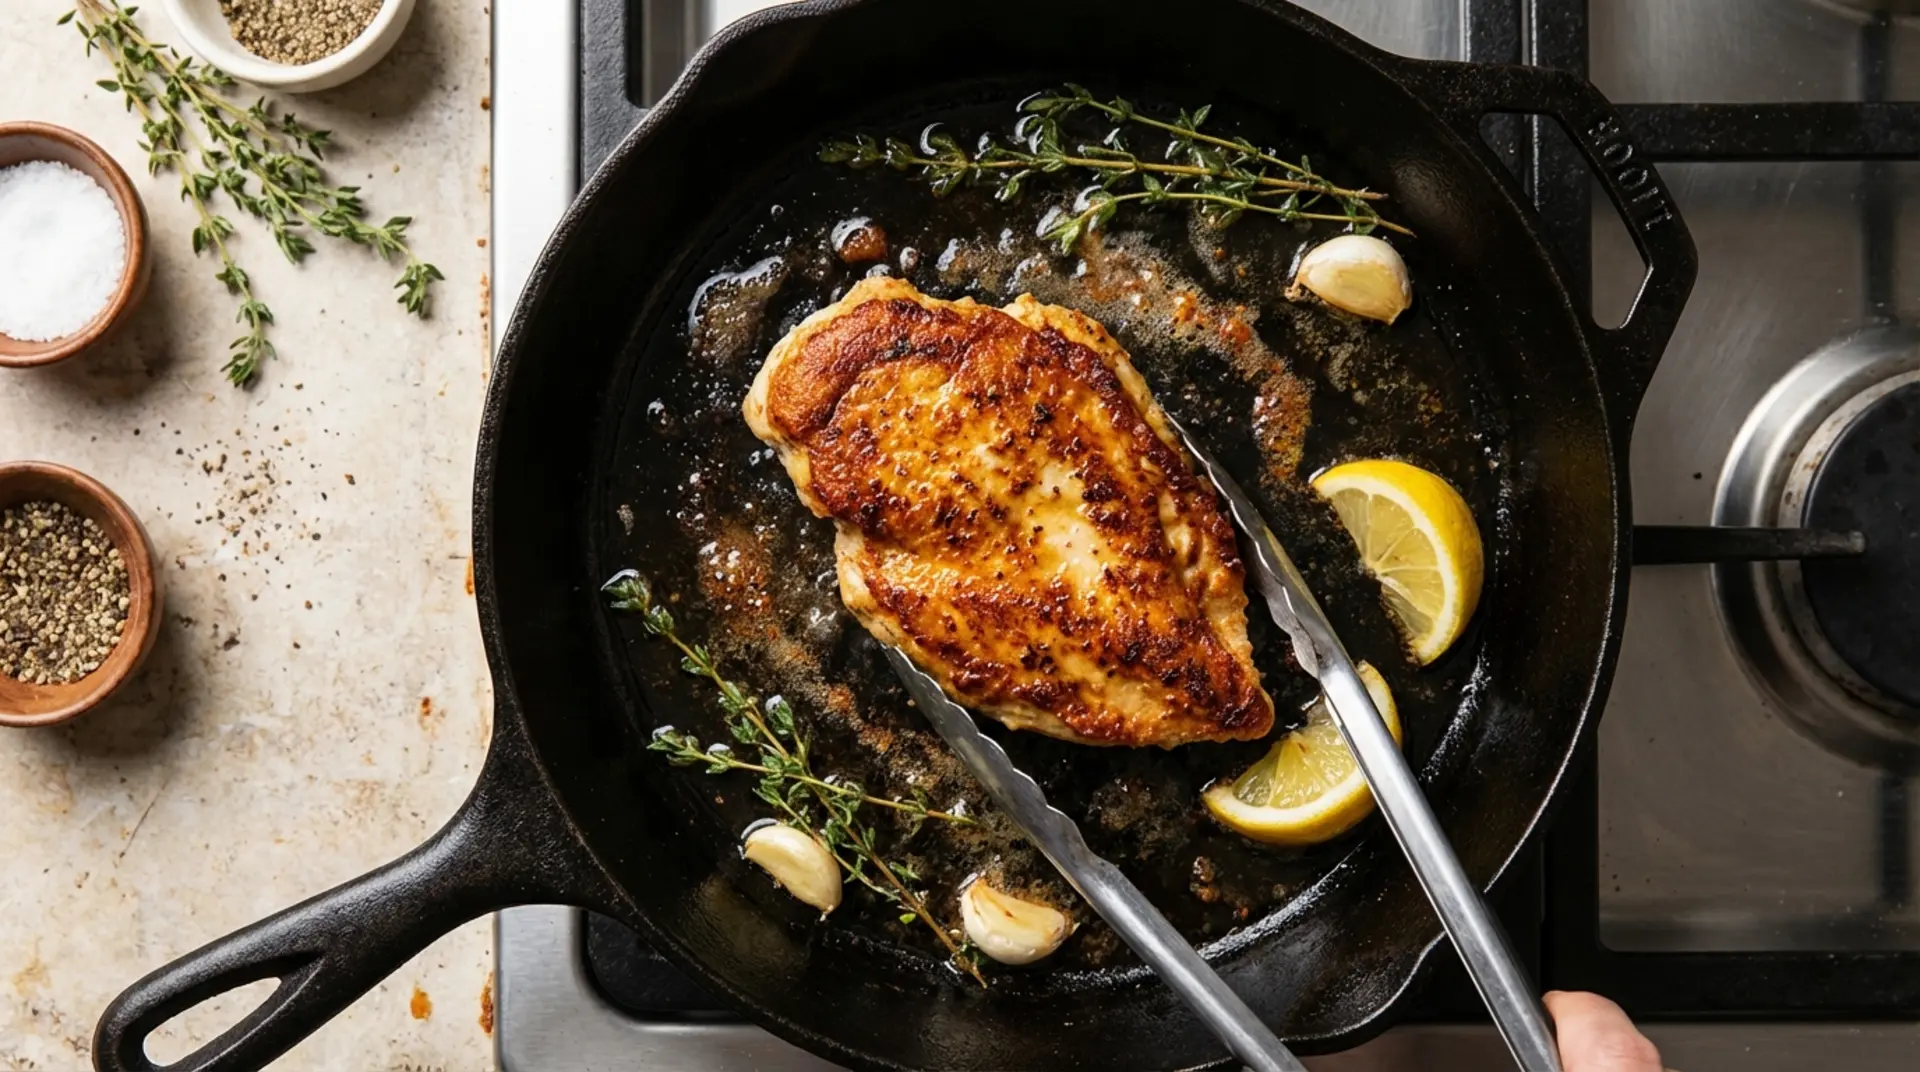
Pan-searing basics: contact, dryness, and patience
The entire pan-searing game is built on three fundamentals: contact, dryness, and patience. Contact means the food needs real surface-to-pan touch, not a puddle of liquid keeping it afloat. Dryness means you’re not asking a hot pan to boil off a bunch of water before browning can even begin. Patience means you let the crust form long enough that the food releases on its own. If you try to flip early, you tear the surface and glue bits onto the pan.
Here’s the mental model that stops confusion: searing is meant to build color and flavor. You can sear and still finish gently. In fact, the most reliable way to avoid overcooking is to treat searing as a short, high-contact phase with consistent high heat, then lower heat or finish in the oven once color is built. If you’re still mixing up pan movement rules, read sautéing vs searing next.
What pan-searing is (and when to use it)
Pan-searing is best when you want a browned exterior with flavorful texture: steaks, chicken thighs, pork chops, salmon with crisp skin, tofu with crisp edges, mushrooms that actually brown, and vegetables like brussels sprout halves or thick slices of eggplant. It’s also ideal when you want fond to build a quick sauce later. If your goal is deep color and pan flavor, searing is the right technique.
The biggest mistake is using searing rules for foods that are too wet, too delicate, or too crowded in the pan to brown properly. Very thick proteins can be seared for crust, but they often need a second phase to finish evenly. Think of searing as just a step in the process: first build the exterior flavor via sear, then decide how to finish. After a good sear of protein or vegetables there will be fond at the bottom of the pan that is a concentrated umami powerhouse. Don't let it go to waste and use it for an easy pan sauce! Deglazing after a solid sear creates a delicious flavor booster in any meal.
Preheat + oil timing: the simple rule
If your food sticks, nine times out of ten it’s because the pan wasn’t truly ready. The simple rule is: preheat the pan first, then add oil, then add food. Preheating matters because it gives the metal time to reach an even temperature, which helps the surface moisture flash off and helps proteins set before they glue themselves to the pan. Oil goes in after preheat so it doesn’t burn while the pan is coming up to temperature.
Use this practical sequence: set the pan over medium to medium-high heat and give it time. Add oil and swirl to coat. When the oil looks looser and shimmery, add your dry, seasoned food and don’t touch it for a bit. If the pan smokes immediately, you’re too hot or your oil has too low of a smoke point. If nothing sizzles, you’re pan is too cool. The goal is controlled heat that browns without turning into burnt residue.
How to prevent sticking
Sticking isn’t solved by the pan brand, it’s solved by physics and timing. The three biggest causes are a pan that isn’t fully preheated, a wet food surface, and moving food before it has browned enough to release. Fix those and you usually don’t need anything else. Start by drying the surface thoroughly with paper towels. Moisture is the enemy of browning because the pan has to evaporate water before it can build color.
Next, avoid crowding. If pieces touch or you pack the pan, moisture gets trapped and you steam the surface instead of searing it. Sear in batches if needed. Finally, don’t scrape and fight the food. If it’s sticking, it’s usually telling you it’s not ready. Let it go another 30–90 seconds and try again. When the crust forms, the food releases cleanly. For more information about the right pan-selection (material selection is more important than brand) then review Best Cookware by Heat: Cast Iron vs Stainless vs Nonstick for helpful tips.
How to flip less and cook more evenly
Flip less. Constant movement prevents contact, and contact is what builds a tasty crust. When you place food in the pan, give it time to brown. Let the first side develop color and structure before you flip. If you flip too early, you reset the browning process and increase potential sticking. If you flip too often, you slow down crust development and create uneven color.
Here’s the practical approach: sear side one until it releases and looks deeply browned. Flip once. Sear side two. Then decide how to finish. If the exterior is perfect but the center needs time, lower the heat or move the pan to the oven to finish more gently. The calm move is simple: build color first, then manage doneness with a lower-intensity finish.
Frequently Asked Questions
Why does my meat stick to the pan when I try to sear it?
Sticking usually means the pan wasn’t fully preheated, the surface was wet, or you tried to flip too early. Preheat the pan first, add oil, dry the meat thoroughly, and let it sear until it naturally releases. If it’s glued down, wait another 30–90 seconds and try again.
How hot should the pan be for pan-searing?
Aim for medium-high heat with a fully preheated pan, then adjust based on smoke and browning speed. You want a strong sizzle and steady browning, not instant smoking. Add oil after preheat and look for a shimmery surface before adding food.
How do I pan-sear without overcooking the inside?
Treat searing as a short crust-building phase, then finish gently. Sear each side to build color, then lower the heat or move the pan to the oven to bring the center to temperature. Using a thermometer helps, and resting a few minutes lets carryover heat finish the interior without drying it out.
Conclusion
Pan-searing becomes easy once you stop guessing. Dry the surface, preheat the pan, add oil after preheat, don’t crowd, and wait for release. Build crust first, then manage doneness with a gentler finish. Practice this twice in one week and you’ll feel the difference immediately with less sticking, better color, and more control.
Next Step:Deglazing (turn your pan bits into an instant sauce)
Latest posts
About